DIY BLEACH TIE DYE CROP TOPS
Tie-Dye has made a huge come back lately, and with everyone stuck at home during this global lock-down, what a better way to kill time than doing some DIY bleach tie dye crop tops.
This method of tie-dye uses bleach as the “dye” which I’m sure you have some kicking around the house so it’s virtually free to do!
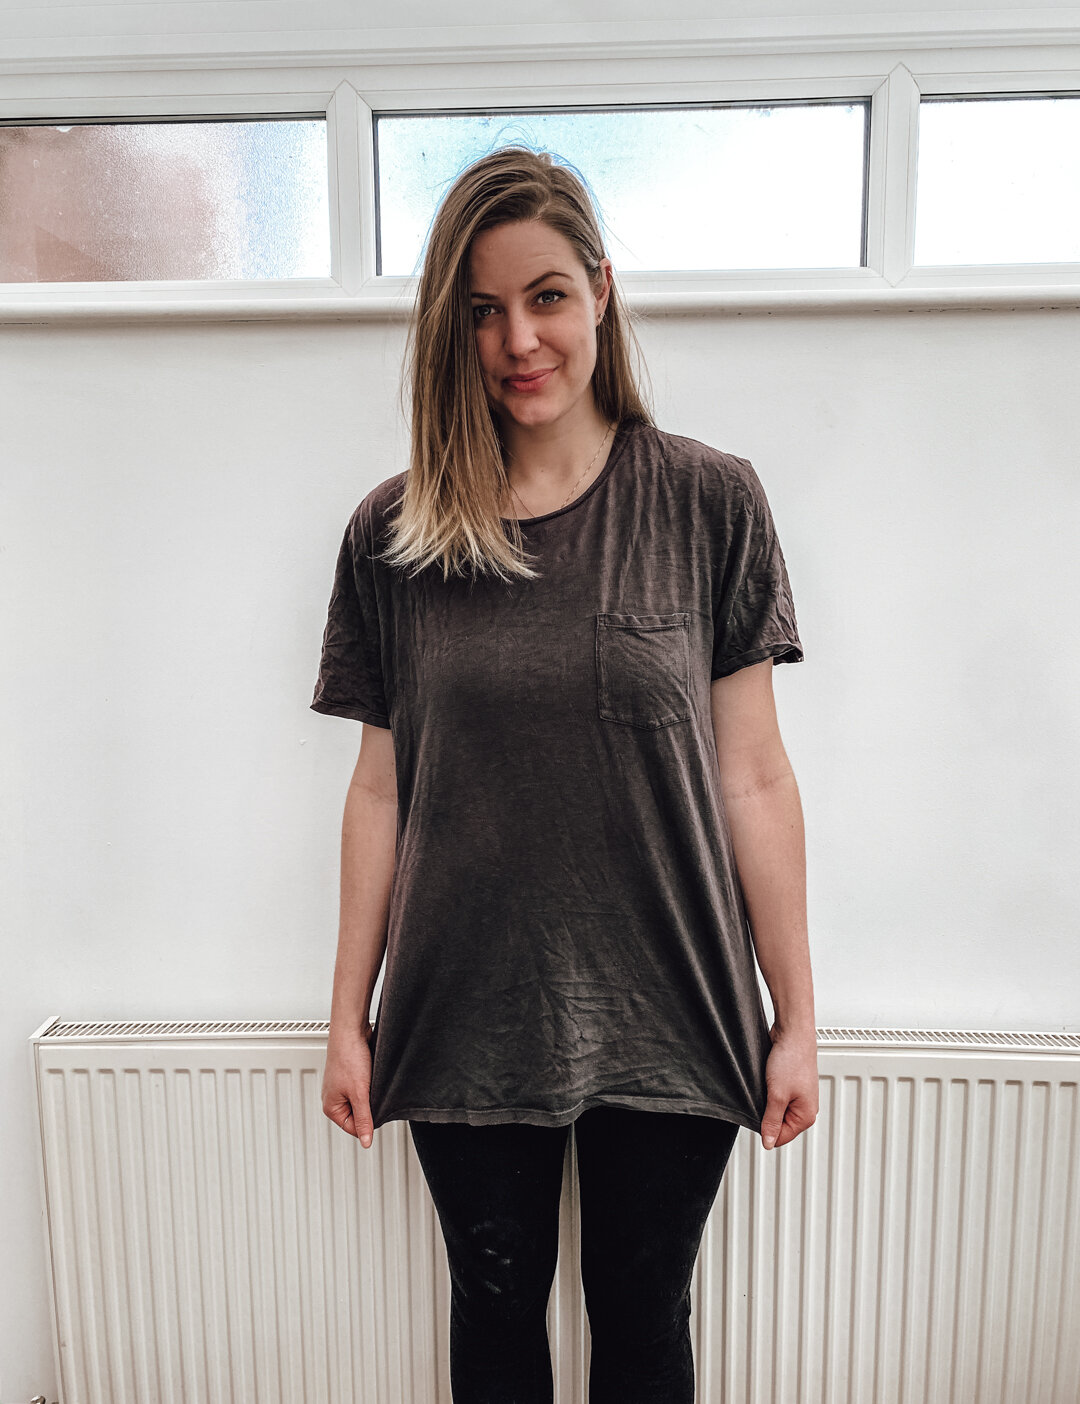
Start with deciding what shirt or shirts (in my case) you want to refresh and then let’s dive in. I chose two of my husband’s old shirts: one t-shirt, and one long sleeve hoodie. They both turned out so differently and I love the final look of both.
This page contains affiliate links.
I’ve made a step by step video for ‘DIY Bleach Tie Dye Crop Tops’ above if you’d like to watch how I did this all.
Or, READ on for detailed step-by-step instructions.

TO START THIS DIY PROJECT YOU’LL NEED
+ RUBBER GLOVES
+ RUBBER BANDS
+ SCISSORS
+ SQUIRT BOTTLE
+ BLEACH


DIY BLEACH TIE DYE
Step 1| Choose your tie design/ style


I chose to scrunch and secure mine so it would have more of a sporadic, blotchy look. Whatever method you choose, gather it all together then secure with rubber bands.
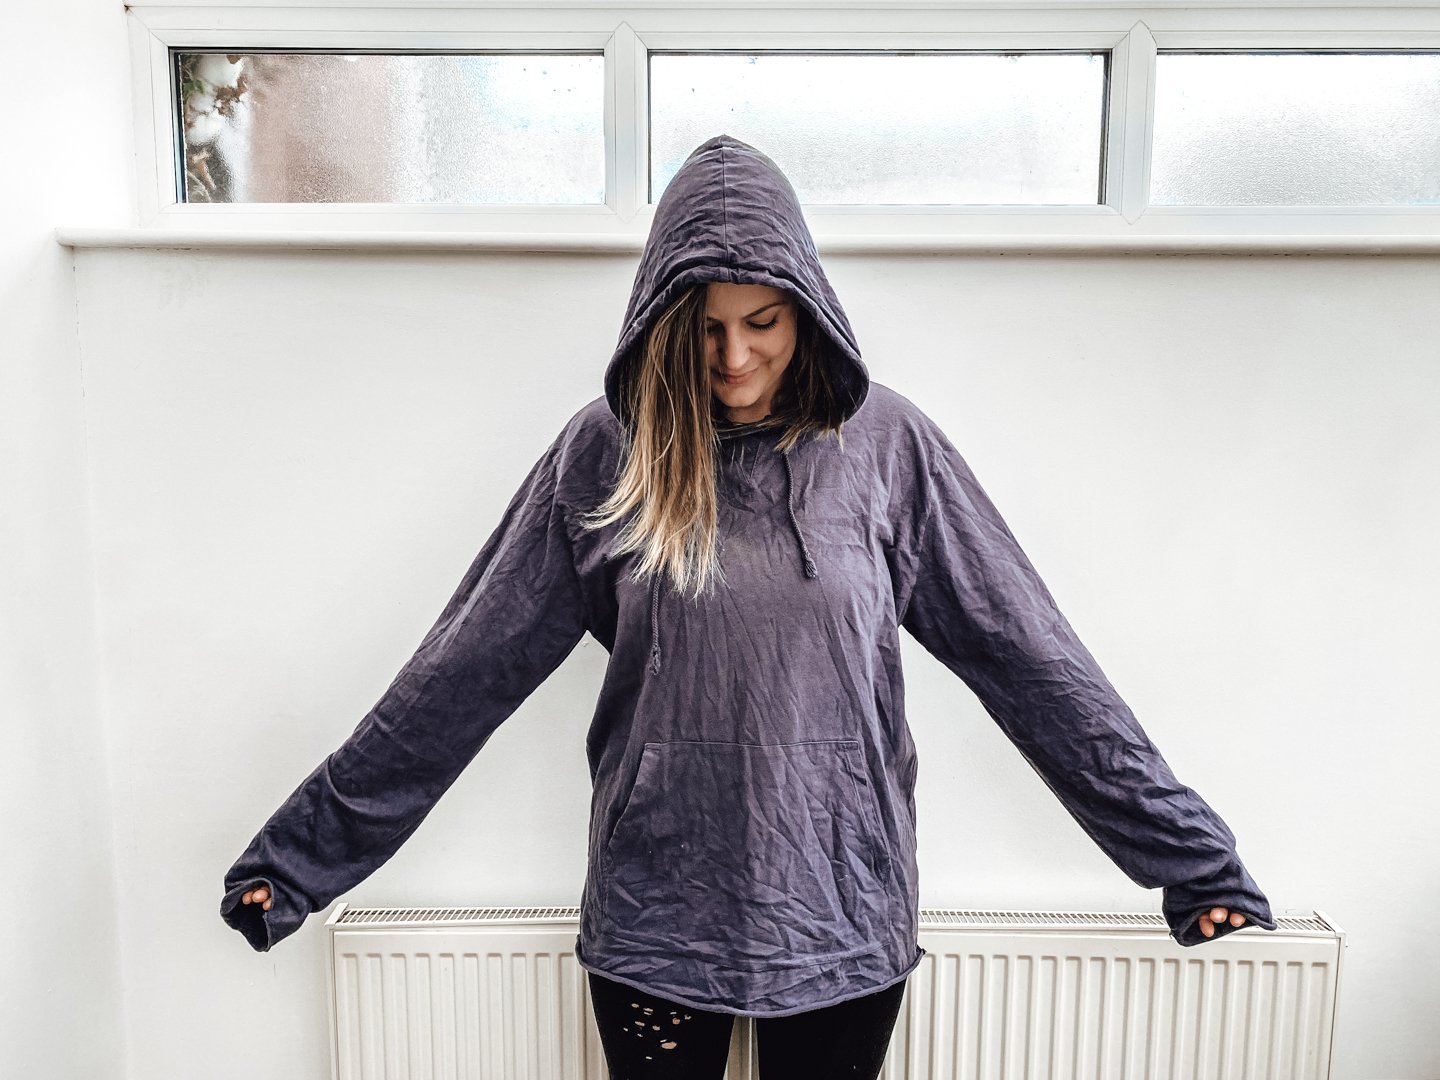
With the hoodie, I discovered that it was easier to leave the hood and sleeves out of the initial gathering, and then just gather them each it sections so it ended up looking like a squiggly snake.
Step 2 | Set up your bleach station


I’d recommend doing this outside if you can because bleach has a really strong smell. Find some sort of bucket or tray to hold the t-shirt in, then transfer the bleach into the squirt bottle.
You technically don’t need the squirt bottle if you don’t have one. I used an old sriracha bottle that was in the fridge and just cleaned it out. The advantage to using a squirt bottle is that you can obtain more of a blotchy look but if you don’t have a bottle, pouring the bleach on the shirt works fine too.
Set the bleach soaked t-shirt aside for 2-5 hours to let the bleach really do it’s magic - just keep an eye on it as you wait because each piece of clothing will lift color at different timeframes so what worked for these may not be the same for yours.
You can also wrap the t-shirt in a plastic bag to keep it damp but it’s not needed.
*TIP | If you want to avoid any possible burning add a bit of water to the bleach to dilute it (maybe 1 part water to 3 parts bleach).
Step 3 | Rinse, wash & dry


Once you’re happy with the color it has achieved, remove the rubber bands and rinse out the bleach in the sink or bathtub. You’ll probably notice excess color coming off as well. Keep rinsing until the water runs clear.
Pop it in the washing machine, put it on a full cycle and dry.


Step 4 | Measure your crop top & cut


Put the t-shirt on and play around with the length that you would like it to be. Once you have your desired length take some sort of clip like a bobby pin to mark the length. You can then use a pencil to draw a tiny line on the marker when you have it on the table to cut.
I didn’t measure my line before I cut I just eye-balled it but feel free to measure and get as precise as you’d like.

Step 5| (Optional) Rolled Sleeves

I liked the look of rolled sleeves on my t-shirt so I rolled them up and tacked it down with a needle and thread. You can do this the whole way around or just on the top and bottom -whatever you prefer.
FINISHED BLEACH TIE DYE LOOKS

That’s it!
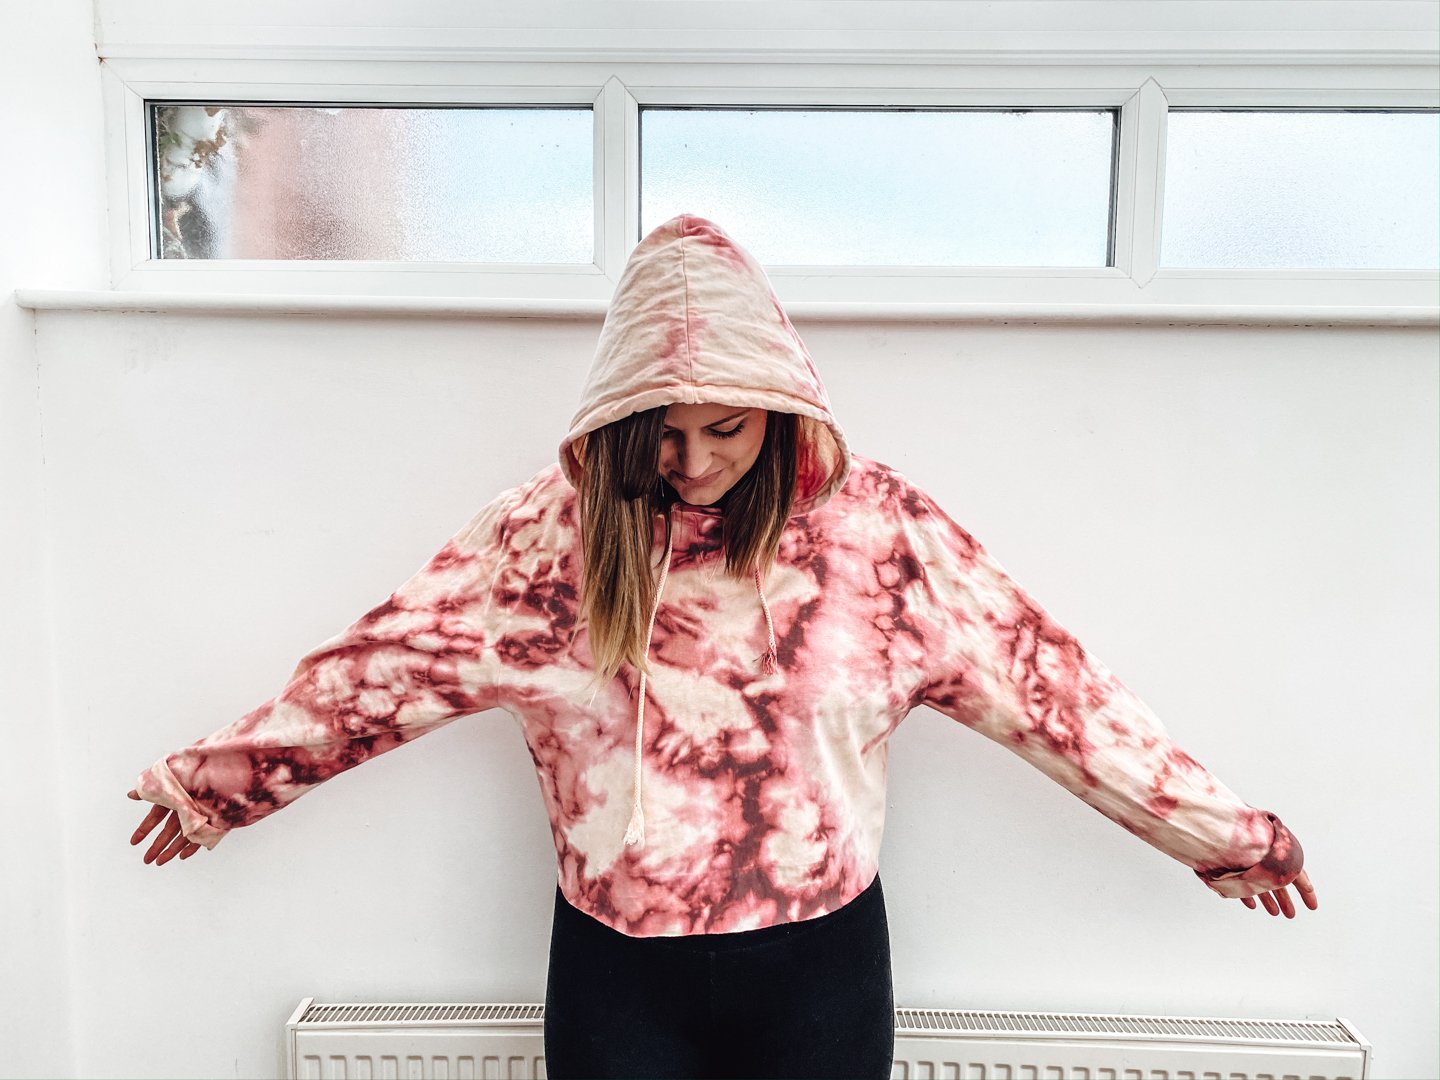
The hoodie turned out so unique starting from the blue and turning into pink. You never really know how it will end up and I think that’s the fun of it.
BEFORE + AFTER