
DIY DISTRESSED JEANS
*This page contains a few affiliate links.
For some time now I’ve envied all the Pinterest and Instagram pics of gals rockin’ hardcore DIY distressed jeans wishing I could have a pair of my own. I love DIY projects so I figured I’d create my own pair of DIY distressed jeans! I knew I could get there if I put some sweat into it and I feel pretty pleased with the final result.
I picked up a pair of vintage Edwin light washed jeans recently in Portland and knew they were the right wash and fit to attempt my distressing on. It took me a bit to get the hang of, but if you follow the steps below you’ll be able to duplicate the same distress look on your own vintage or older worn-out jeans for a lot less than you would pay for a pair already distressed.
I gotta say though, I have grown a newfound appreciation for handmade anything out there because this sure takes some solid concentration and effort (well worth it of course!) And final question, how do jean companies distress their jeans??? I CAN NOT picture people spending this kind of time on each pair of jeans!
Moving on…
You’ll need just a few simple household tools to accomplish the DIY distressed jeans look:

WHAT YOU’LL NEED ||
+ Box cutter
+ Tweezers
+ Safety PinS
+ Chalk or Pencil
+ Cheese Grater (with the star side)
+ Magazine/ News Paper
1 | Mark the Cuts
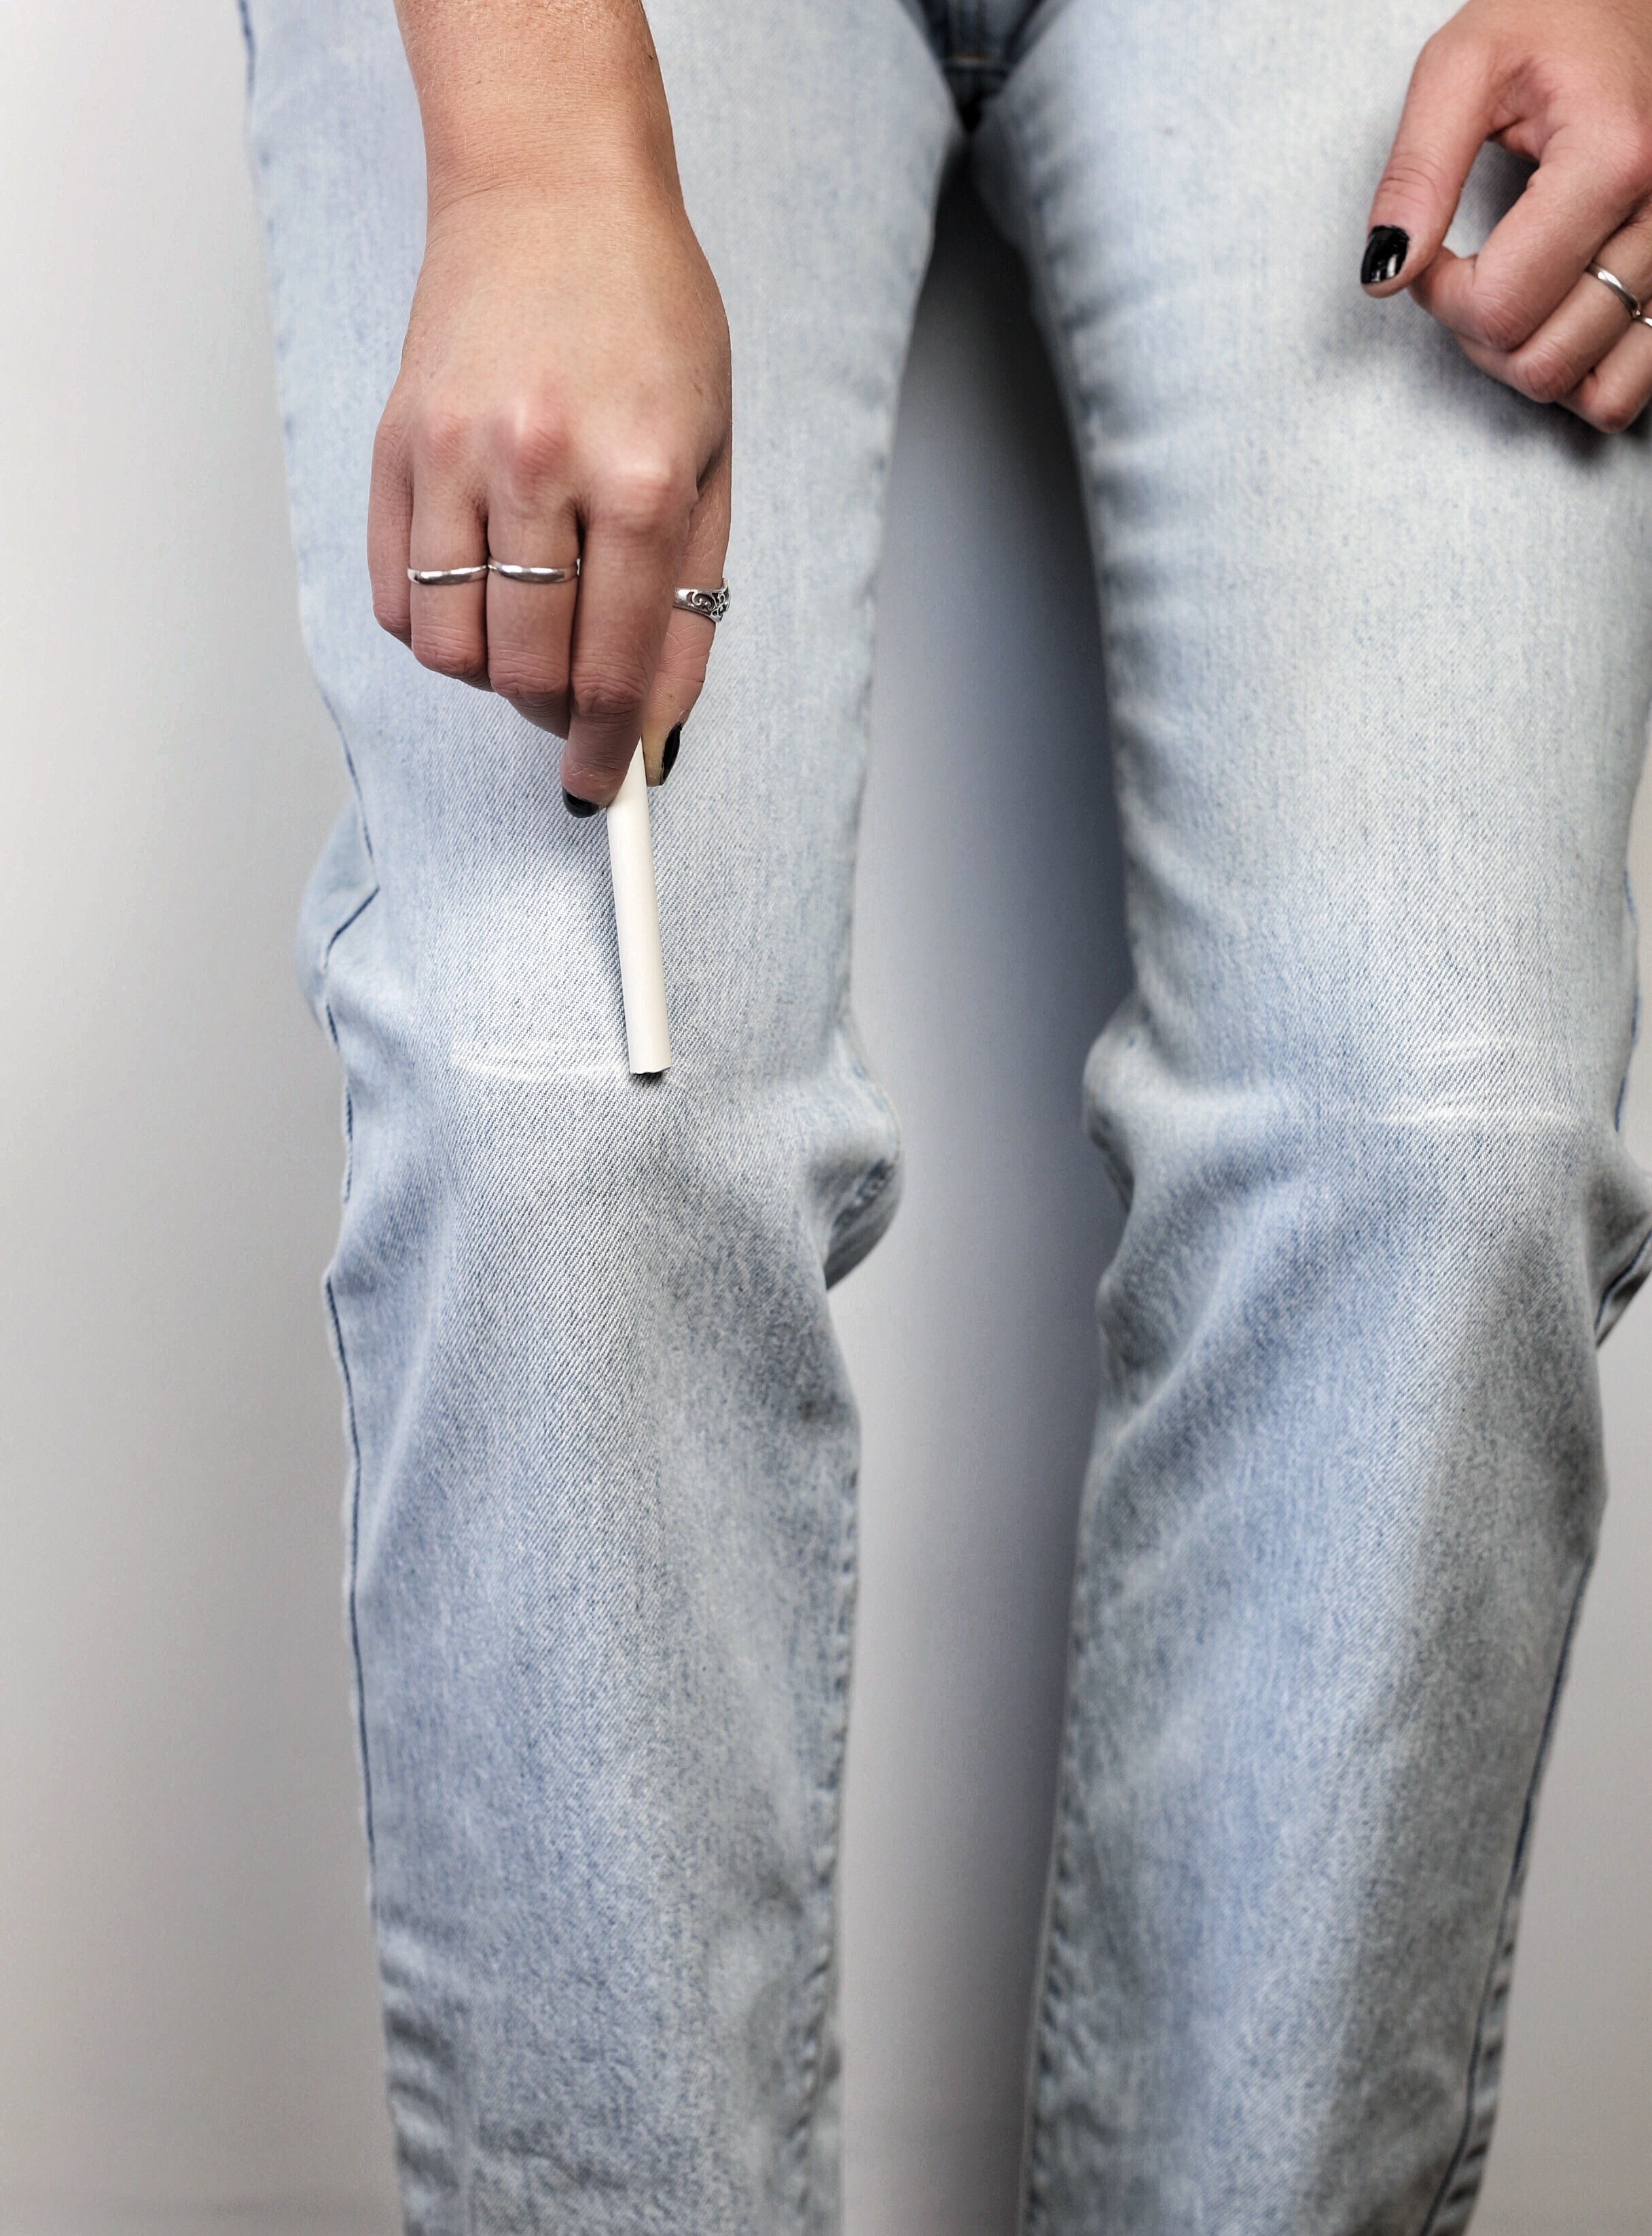
You’ll want to get the right knee spots roughly measured by slightly bending your knees and marking them with a washable pencil or chalk line. This will be helpful when you start to make your slits.
2 | Measure your Cut Lines

This can get as creative or as basic as you like. I started with a rough 3-4 inch diameter around the original cut line but it slowly grew as I started going.
The main point is to make sure it starts off generally even from top to bottom and then you can get creative from there.
3 | Cut your Strips

I started with cutting similar sized strips (around 1/2-1 inch wide) and you do need to do your best to cut with the grain. If you take a look on the inside of the pants you’ll see how the white threads run and you want to cut not just straight across the horizontal line of the pant but also follow the grain so that the string pieces you pull out won’t be cut in half. (Once you try one or two you’ll know what I mean)!
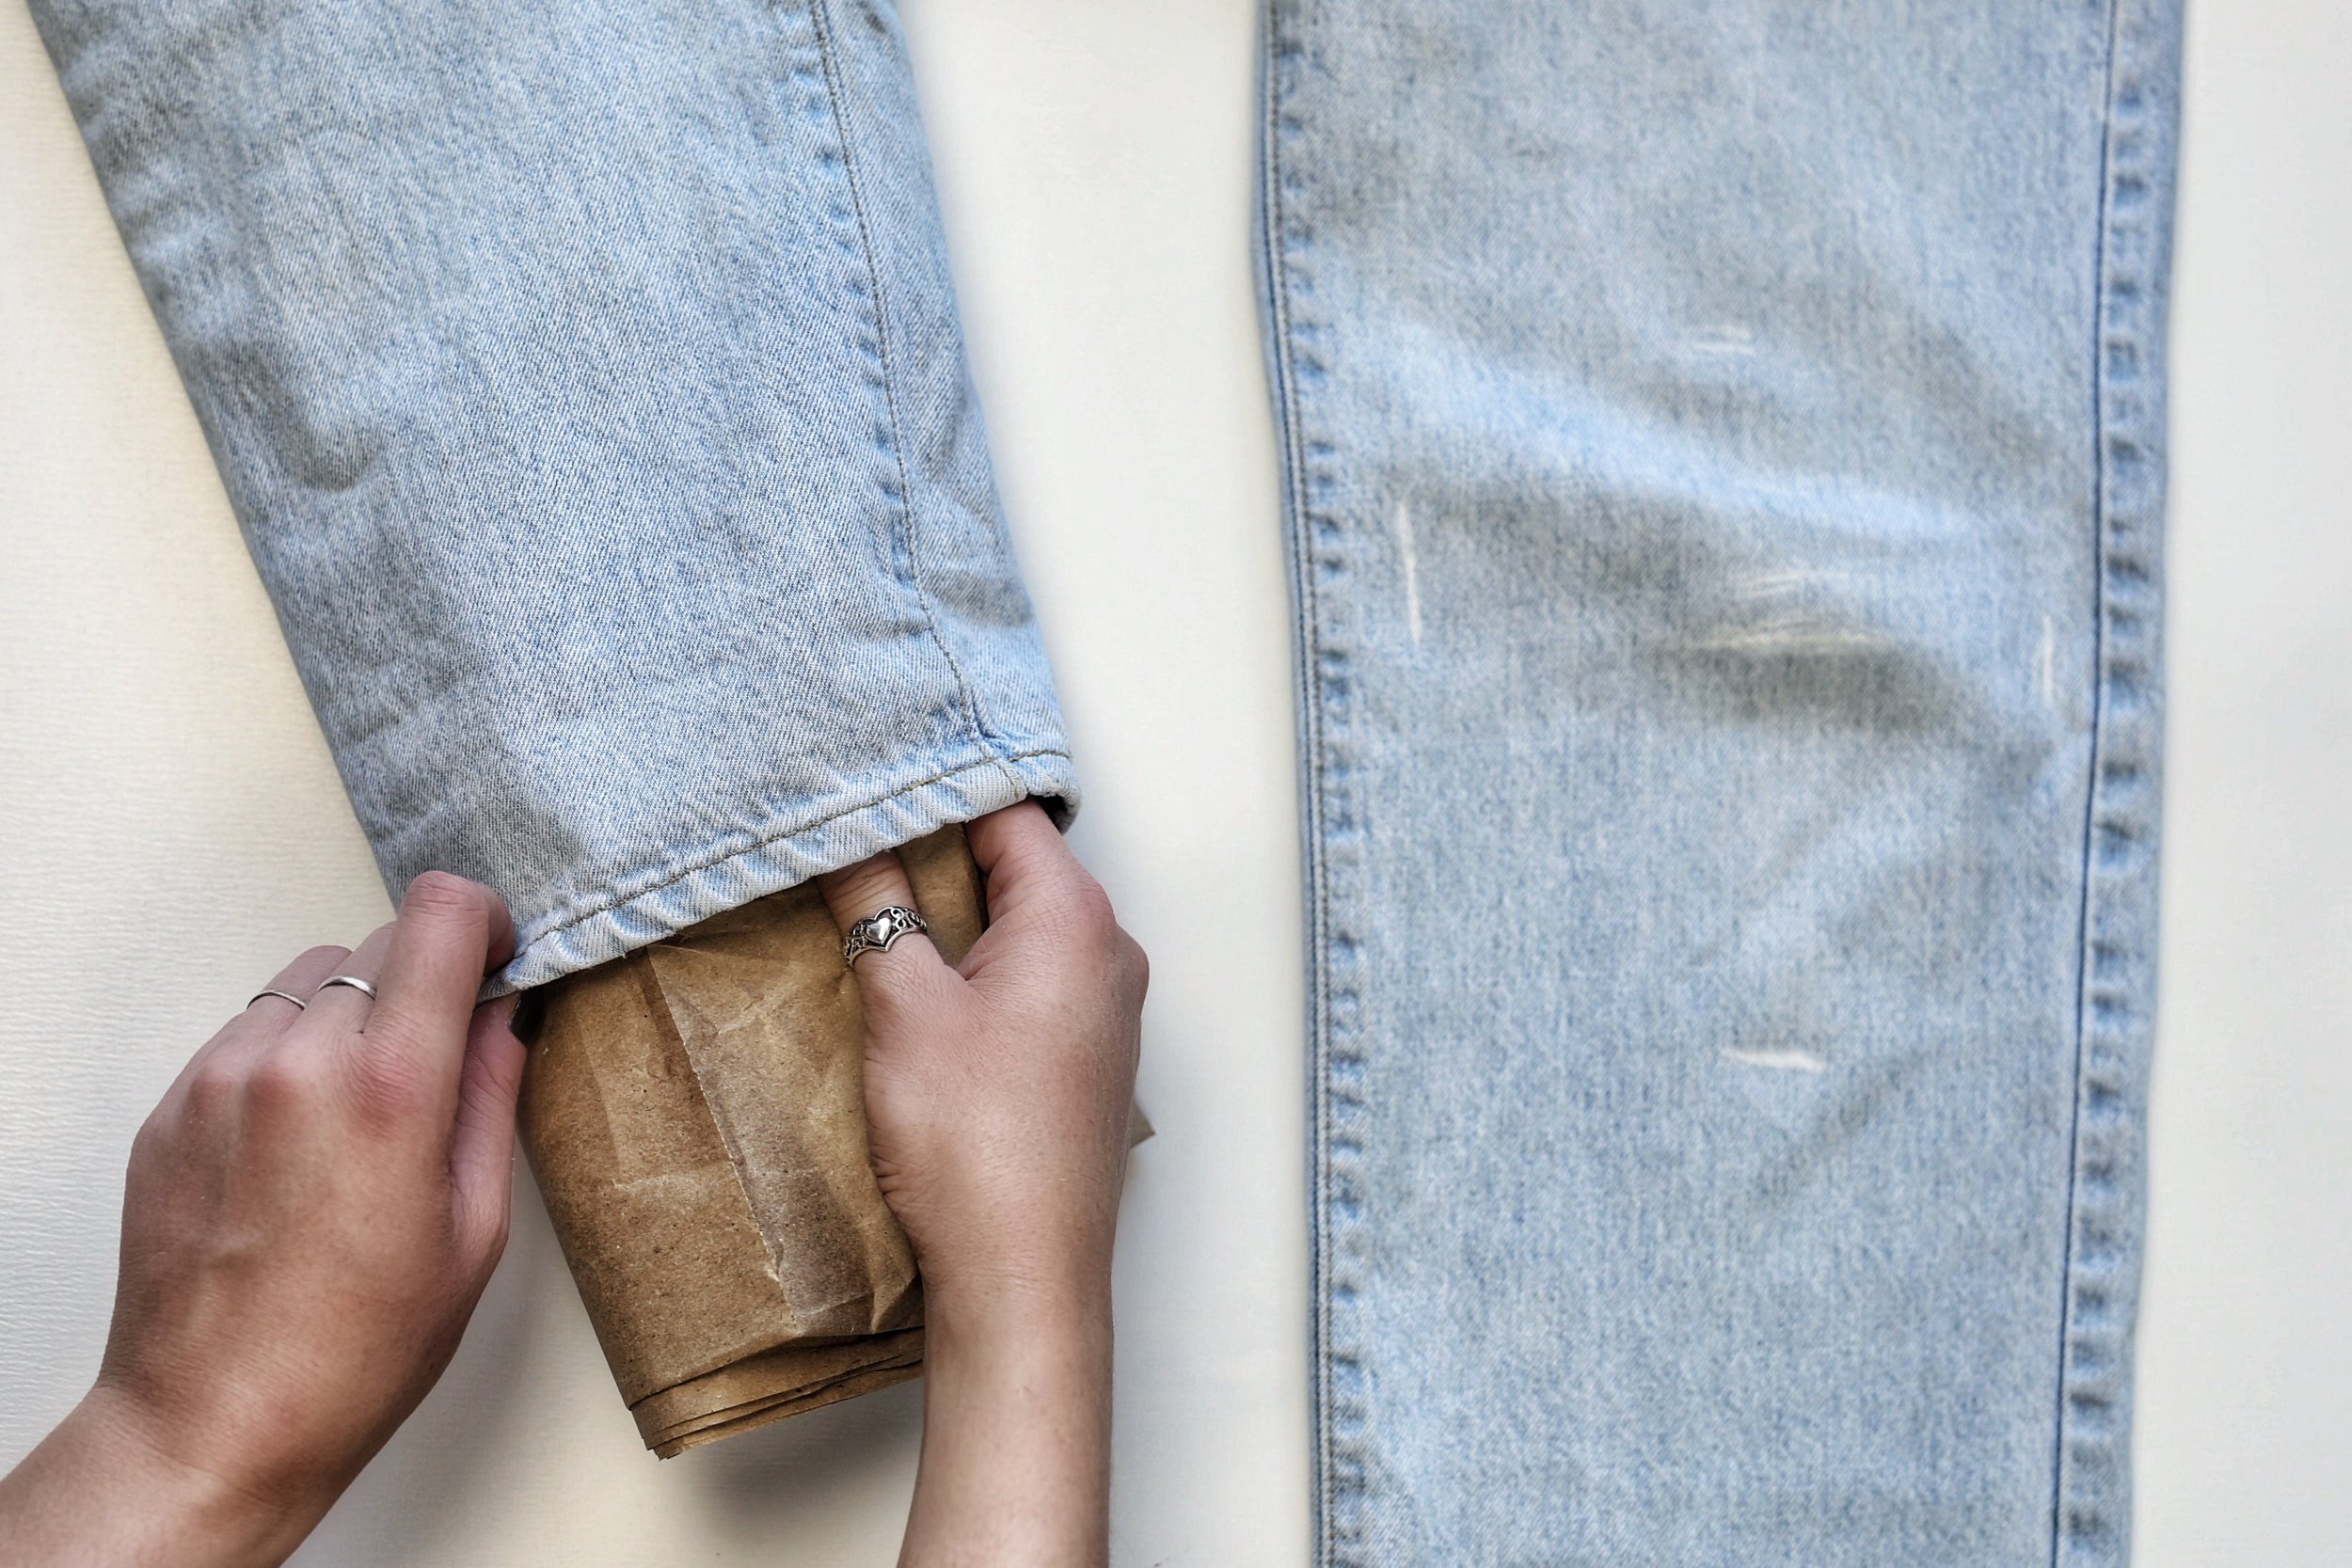
Make sure to put cardboard, a magazine or a bunch of paper inside the jeans to use as a cutting board to cut your strips on. You also want to go from long strips and gradually decrease the length of the strip so that you come to about a 2-inch bottom and top strip-like seen in the picture. Like I said you can get creative and go from long to short to long again and zig-zag from left to right but just make sure they gradually decrease and increase in length as you go so it’s easy to pull apart.
4 | Pull Out the Horizontal Threads

Once you have the strips cut you’ll want to start by taking one strip and pull the closest white thread out from the top until it’s got about 5 ish threads out from the top of the strip as well as the bottom. The point of this step is to make it easy for you to pull out the vertical jean threads and I found the more white horizontal threads you get out of the strip the easier it is to do so.
One thing I noticed in one distressed section (as noted in the last step) was that if you happen to just go with your eye and cut a straight line strip it may just end up cutting the white threads in half which will end up with no horizontal threads across the hole.
It’s okay if the first few threads are cut but if all of them don’t line up as you start to pull them out that means your strips weren’t cut along the grain and there won’t be any threads to fill up the hole. So just watch out for that as you go! (Not sure if that makes sense, but once you get going I think you’ll know what I mean hopefully.)
5 | Pull the Vertical Threads Out


Once the horizontal threads are pulled, aim to start pulling the vertical threads out from the middle of the strip. Once you get the initial few out it’ll flow a bit easier to pull them out. Work your way up one side of the strip and then head to the other side. Don’t worry if it’ll look squared off on the corners as you go from strip to strip, I found a great way to make it look a bit more natural in the next step.
6 | Clean Up the Edges


Once the vertical threads are all pulled out and the hole is well distressed, go around the perimeter of the hole and start to pull out the blue threads to loosen up the squared corners of each strip. Do this as much or as little as you like until it looks the most natural. In this step, you can also cut off any white threads that are hanging loose if you prefer.
7 | Go Wild with Distress

Once you finish one section/distressed hole (and it’ll take time, I think in total the whole process of the DIY distressed jeans took me like 10 hours), make more slits and cuts on the top, middle and bottom of the pants as much or as little as you’d like.
8 | Star Grate for Extra Effect

This is up to you if you’d like to have extra grated features, but I found that taking the star grating side of the cheese grater allowed for good natural distress effect on the jeans. Just grate small sections throughout as much or as little as you’d want to get your preferred look.

And that’s it!
It’s an easy 8 step process that can take a LONG time, but once you get the strip cutting and thread pulling right you can make it look so pro and customizable.
I’d love to hear your special tricks or experiences with your own DIY distressed jeans below!
Grab your tools and jeans and have fun.
*EXTRA TIP || I’ve since cut these jeans into shorts which is a great way to keep them alive and upcycled if you end up getting sick of the full length of the jeans ( like I did over the years).
