
DIY COCONUT WHIPPED BODY BUTTER
*This page contains a few affiliate links
This blog post features an easy DIY guide to making a natural body butter recipe.
I have really dry skin and have tried so many store bought brands over the years to help my skin but nothing has really done it for me like this homemade body butter. In fact, I normally get into these random DIY crazes and this natural homemade body butter came from one of those crazes over eight years ago.
Now, this is my every day, all the time, go to body butter. I’m sharing it with you because maybe someone out there that can relate to my dry skin dilemma will find these ingredients, whip it up, and experience what I’ve been experiencing for over eight years.
It’s not only helpful for eczema but because it is made with all natural ingredients it is super luxurious for a fraction of the price you’d pay out there for something similar.
WHAT YOU’LL NEED ||
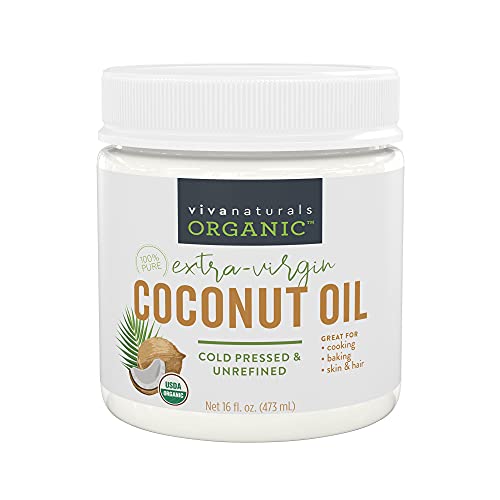
+ Coconut Oil: 1 part
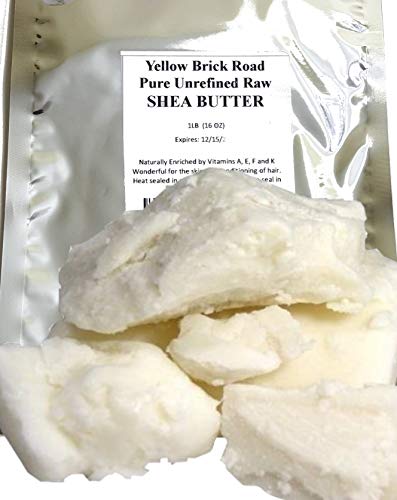
+ Shea Butter/Cocoa Butter: 1 part (combined or use one or the other)
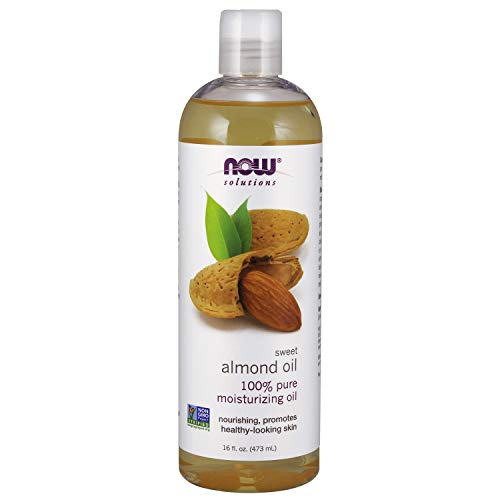
+ Almond Oil: 1 part
+ Bees Wax: 1/4 part
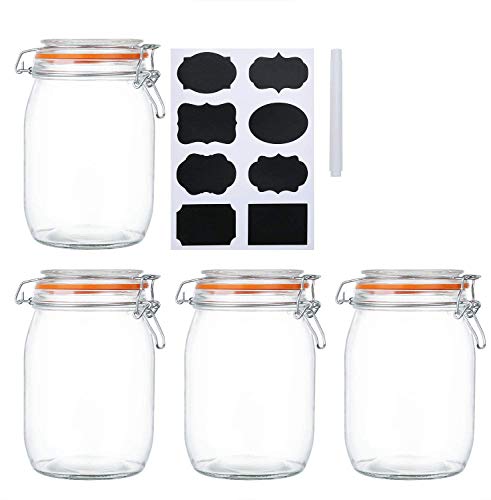
+ JAR FOR STORAGE


STEP 1 | MEAUSRE & MELT


In a double boiling method (bowl over hot water) combine and melt all ingredients together. Additionally, I normally buy a block of beeswax so I tend to shave it down before I melt it so that it melts at an equal pace with the other oils/butters. I do this for the cocoa butter as well if you end up using this ingredient.
You can buy beeswax pellets to save on the hassle and mess of shaving a block of beeswax, it just depends on what you’d like to buy as the pellets sometimes end up being a bit more expensive than the blocks of beeswax.
The measurements I go off of is as followed:
+ 1 part soft oil/butter (example: Coconut oil)
+ 1 part hard butter/oil (example: Shea Butter, Cocoa Butter)
+ 1 part liquid oil (example: Sweet Almond Oil, Jojoba Oil, Avocado Oil)
+ 1 part wax (example: beeswax, Candelilla wax )
+ optional: essentials oils for smell
Over the years I have tried all different combinations of these examples of butters and oils, however my go to ingredients are what is listed at the top. Feel free to research health benefits of different oils though and mix and match as you please.
STEP 2 | COOL DOWN


Once the ingredients are all melted down , take the bowl off of the heat and let it cool down until it begins to look like pudding. This might take some time, and a cooler area will help speed up the process. I will put it in the fridge for up to an hour or so, stirring it every 15 min.
The best for whipping is when it’s the coolest it can be without being frozen or hardened.
STEP 3 | WHIP IT UP

When the ingredients are cooled down, transfer them into a mixer or use a hand mixer and begin to mix until it turns fluffy. I have found after every 2 mins of whipping I put the bowl into the fridge for 10 min so that it stays cool while it’s whipping.
By and large, this has produced the most fluffiest results.
Now just transfer it to a mason jar or container to store. Best results is to keep it in a cooler environment. I usually go through my batches pretty quickly but it can last anywhere from 3-6 months easily!

There you have it -your affordable, luxurious, homemade, natural whipped body butter.
A NOTE FOR APPLICATION: The beeswax helps to seal the oils into your skin but do make sure to let the body butter dry on your skin the best it can before putting on clothes so that it doesn’t leave any oil stains. It usually only takes a couple minutes to soak in.
Enjoy and I hope this body butter recipe was helpful for you.